Work Less By Using Figma for Asset Management
Can I get the logo in black? What font is this? What is the hex code of the yellow?
These are the worst things I have written today and if you’ve ever had those questions said or written to you, then I feel for you. Heck, if you even had to ask this question, then I feel for you. Because I get it. These are the most annoying questions to both answer and ask when collaborating on a design project, so why not avoid them entirely?
Digital asset management for graphic designers is simply part of the job; especially if you’re working in-house. That’s why it’s important to create a system wherein everyone can access a brand’s assets without constantly pinging your Slack or task management software for font names and hex codes.
In this short and sweet article, I’ll walk you through the few steps you can take in order to host your brand assets in a singular place to take the annoyance out of your day.
Why Figma?

Let’s get some things out of the way. I feel you’ll trust me more if I give you some reasoning out of the gate, but if you’re already on board, then feel free to skip down to the very informative header, “Creating your Digital Asset Hub”.
To spare you the details as to why I have chosen Figma as the tool for this job, I will just say these two points:
- Cross-Platform
- No software download required
Of course, these benefits come with hosting your assets in a Google Drive/Dropbox scenario as well, however, Figma provides you with the flexibility of creating a centralized and living hub for your brand assets.
Adding new items or updating pre-existing materials is no longer something that requires hours of folder-maintenance and utilizing a staff mailer to point everyone towards the new location for a favicon. It’s all in one spot and will always be in that one spot. Whether you’re on your phone, tablet, or internet browser, your brand’s digital assets are accessible.
Empowering Your Team with Asset Flexibility
By giving your users and stakeholders the capability to export the logo to whatever size they need, to access your precise colour palette, and to identify and download your fonts, you effectively empower them to become better designers and keepers of the brand.
Your role as the designer becomes exponentially easier when everyone is utilizing all brand assets effectively, and I don’t mean just members on your team.
Someone in charge of getting swag printed? Send the printer the Figma file. They’ll be able to access all your brand assets without the need for an email chain asking for the logo at a different size. It’s all there for them. Living, breathing, and fully-accessible.
Creating your Digital Asset Hub
To save you the time, effort, and energy of having to put this window to the side and follow along with my list of steps, I’ve created a template for you to duplicate. So click the button below and with your wealth of saved time, get your assets together!
Download Our Digital Asset Management Template
Step 1: Duplicating the File
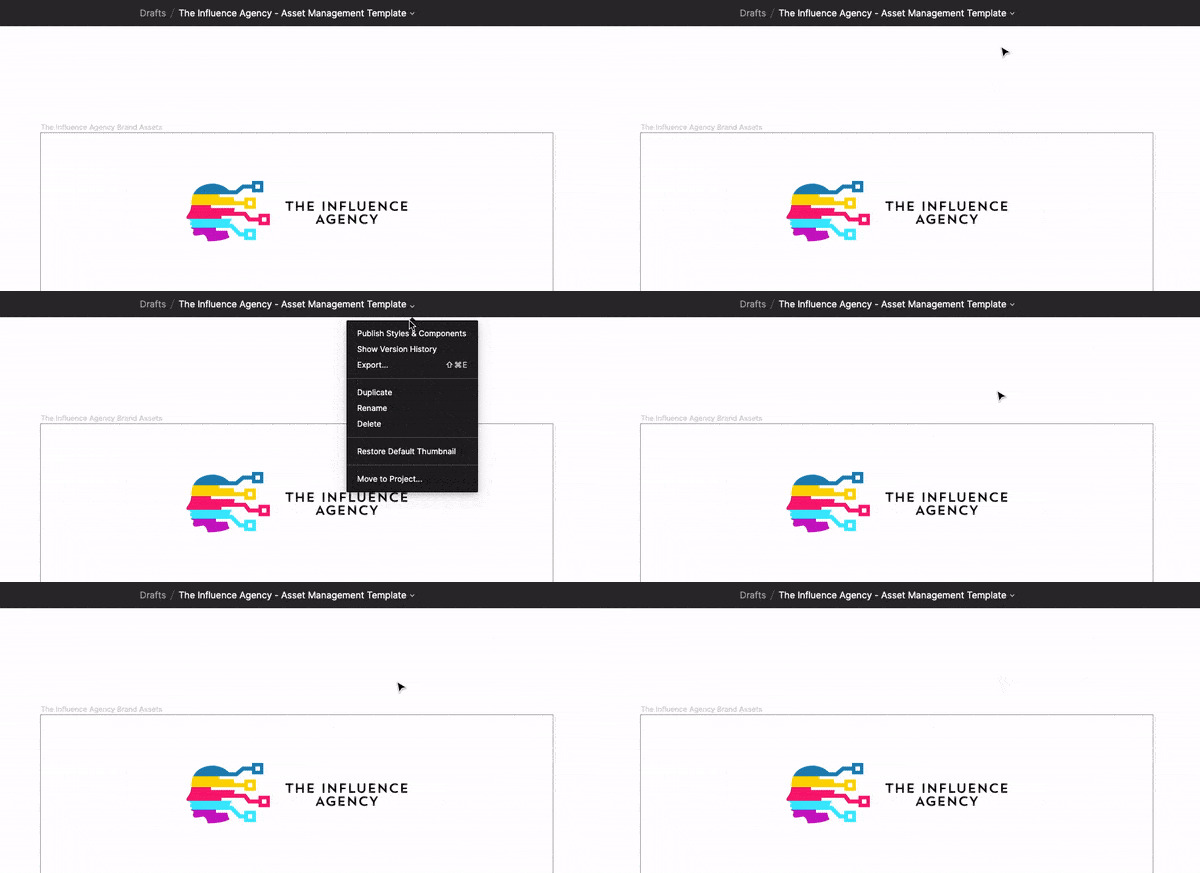
This part is fairly painless as the first step is simply to sign up for a Figma account. Once that’s done, click the dropdown between “The Influence Agency Brand Assets” and “View Only” at the top-center of the screen. From there, click ‘Duplicate to your Drafts’ and at the bottom of the screen you will receive a prompt to open your now-duplicated file.
Step 2: Populating the Basics

The next stage is to make this brand kit your own by populating the basic brand assets including the colours and fonts. On the right side of the screen, you will see a column titled Local Styles with the nested headings of Text Styles and Colour Styles.
Step 3: Entering your Font
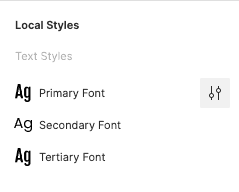
Beneath the “Text Styles” heading, click on the “Primary Font” settings button to the right. This will allow you to adjust the font properties that will then be affected document-wide.
The current font there is listed as ‘Fjalla One’ as that’s our brand’s primary font, but of course, you will be picking your own font-family and weight. Repeat this process for ‘Secondary Font’ and ‘Tertiary Font’ and you will notice that all the headings on the document are now representative of your brand! Great start!
Step 4: Entering your Colours
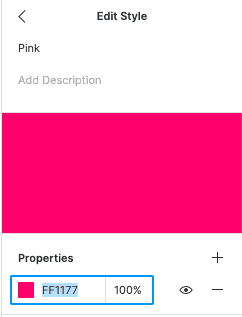
Picking your colours is the same process. Beneath “Colour Styles” begin selecting and entering your brand’s colours in order of hierarchy (primary first then descending from there). The Influence Agency boasts a brand of five colours, causing us to have five fields for distinct colours, however, it is completely fine if your brand does not. In these cases, either delete the other colour fields and references in the document.
After adjusting your primary colour, you will notice that you have also adjusted the colour of all headings on the document. That is because the colours are linked within Figma.
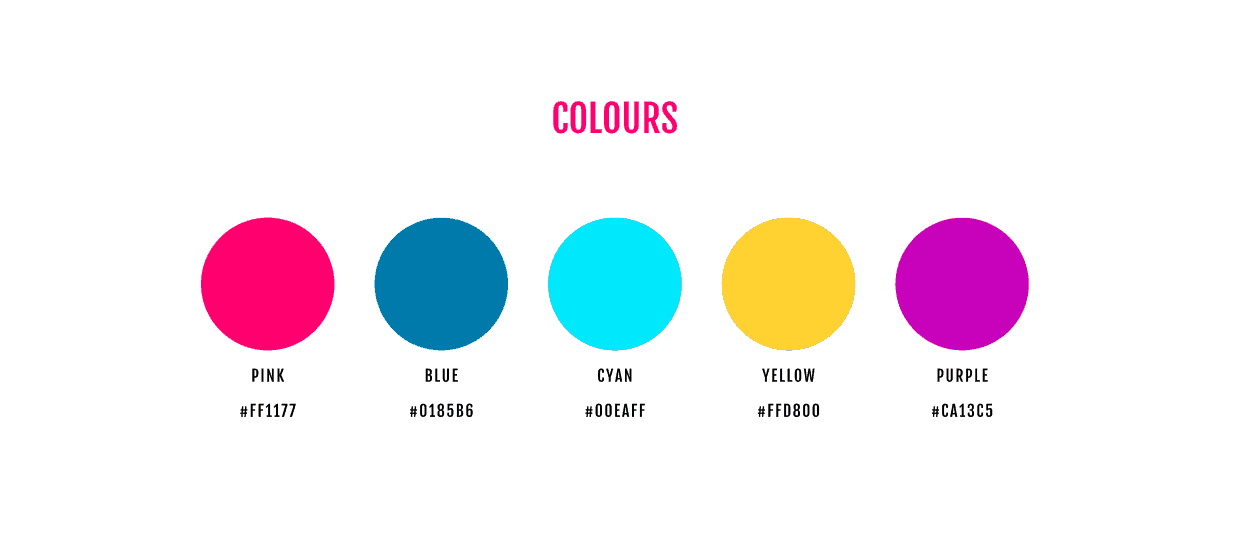
After all your colours are filled in, visit the “Colours” header in the document and begin adjusting the naming conventions, hex values, and CMYK (if needed) values for each of your colours.
Step 5: Preparing Your Logo and Its Variants
The best practice for preparing your logo is to export it as an SVG. This vector-based format is what will allow your users to export your logo at whatever size they need it to be. Large or small. For this stage, I did a full export out of Illustrator for all logo variants including the main lockup, vertical and horizontal lockups, and badges/favicons. Once they are exported, you can begin populating the document.
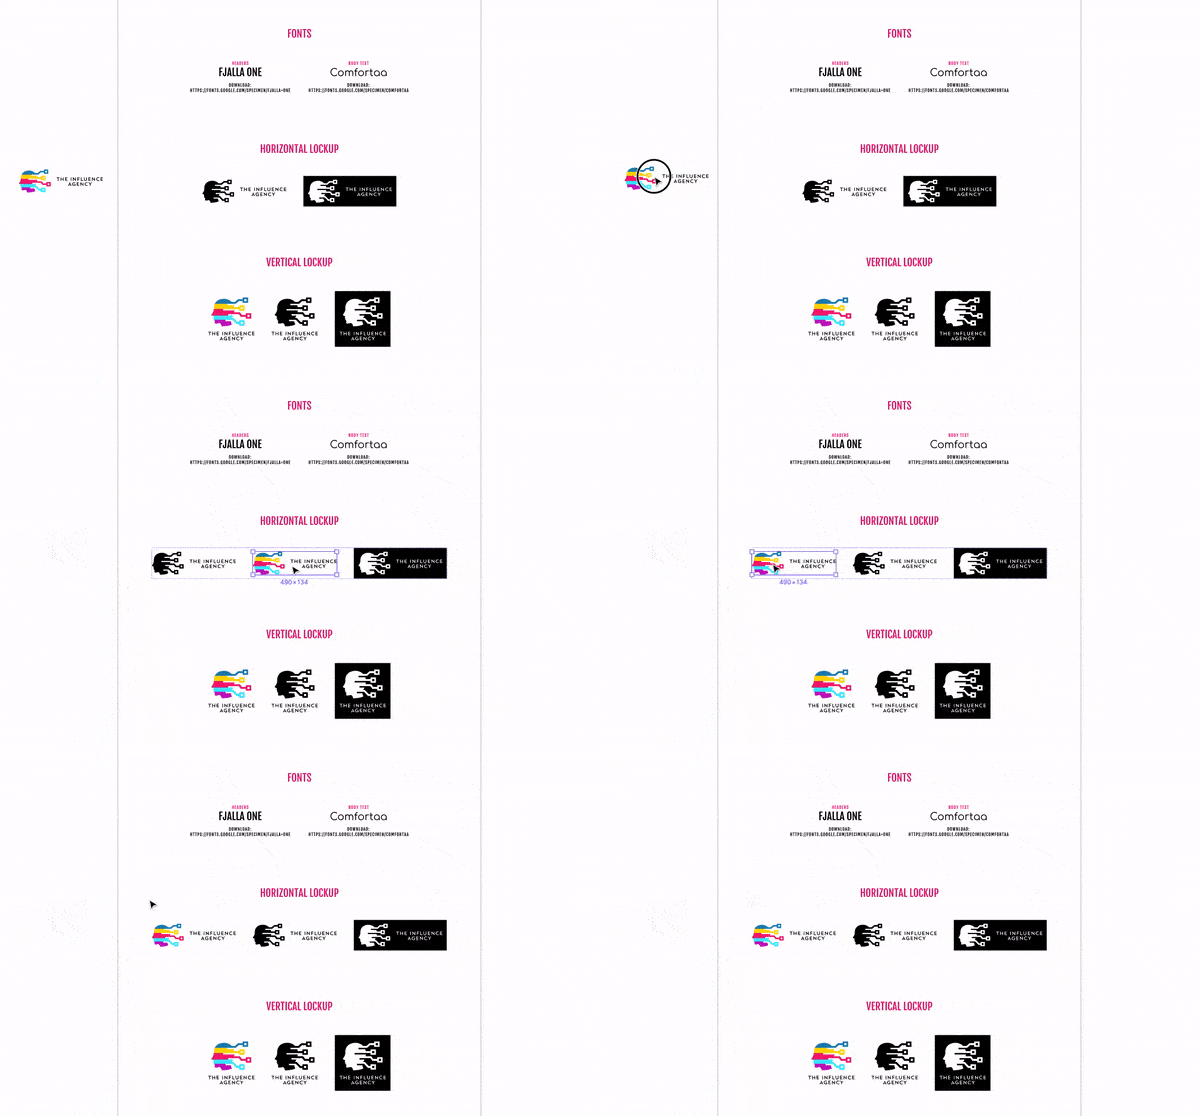
Place your logo within the “Primary Logo” component at the top of the document and delete our current logo. Repeat this process for the “Horizontal Lockup”, “Vertical Lockup”, and “Badges/Favicon” sections. At this point, you should have everything ready to go with all your logos, colours, and fonts populated on the document.
Step 6: Making it Your Digital Asset Manager
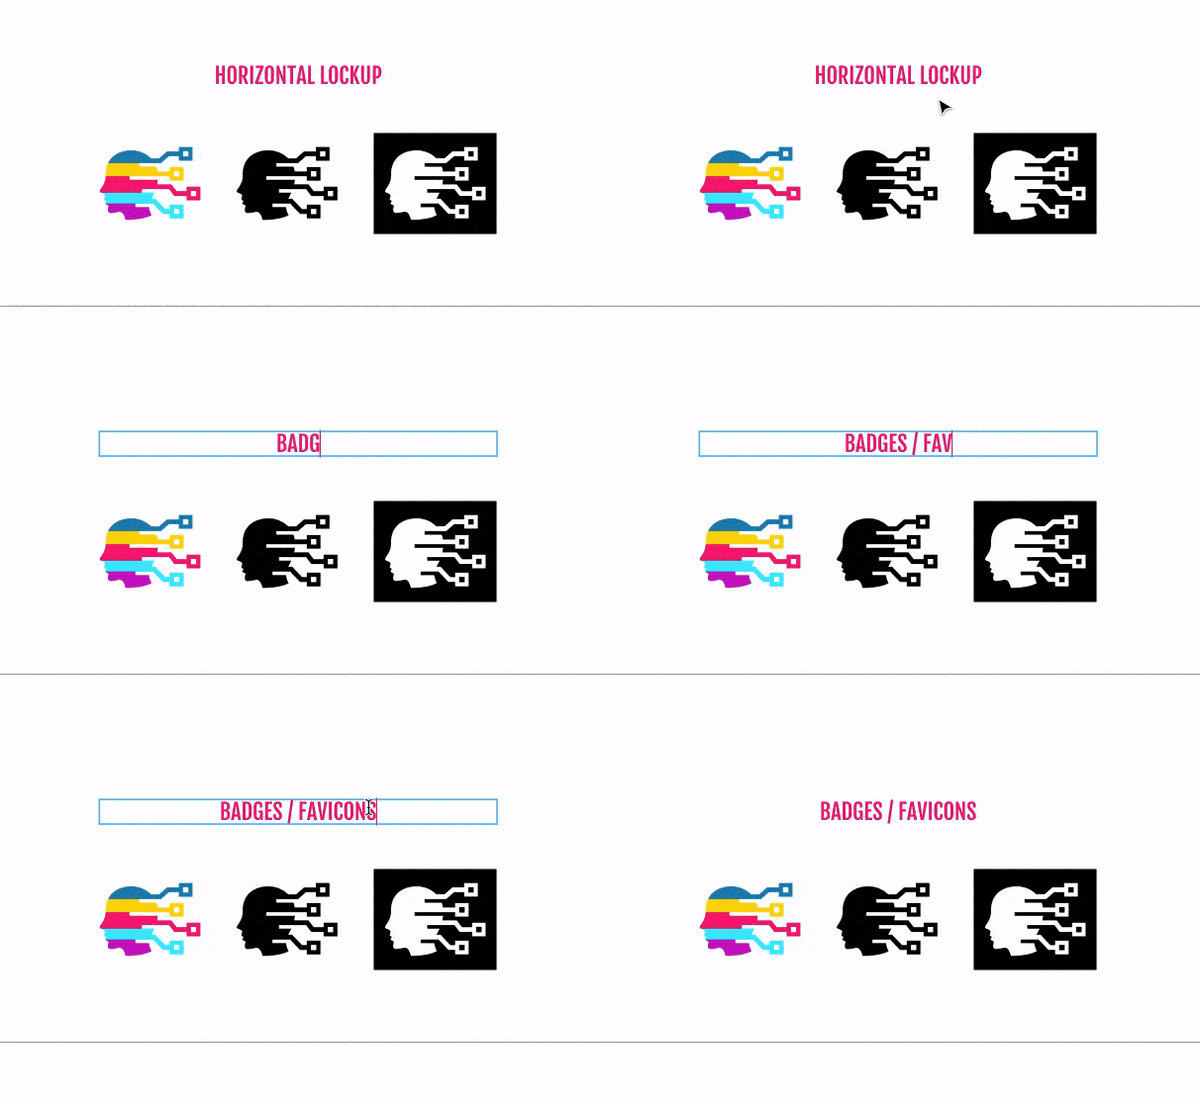
It goes without saying that digital asset management is something that is hard to generalize across every single company/team/business. As I’ve provided what works well with our team over at The Influence Agency, you may find the need to add other elements to your asset manager that are not covered in our template. To do this, simply duplicate any primary section (Colours, Horizontal Lockup, etc.), change the title, and add your design elements/components to the document.
Less Work, Less Management
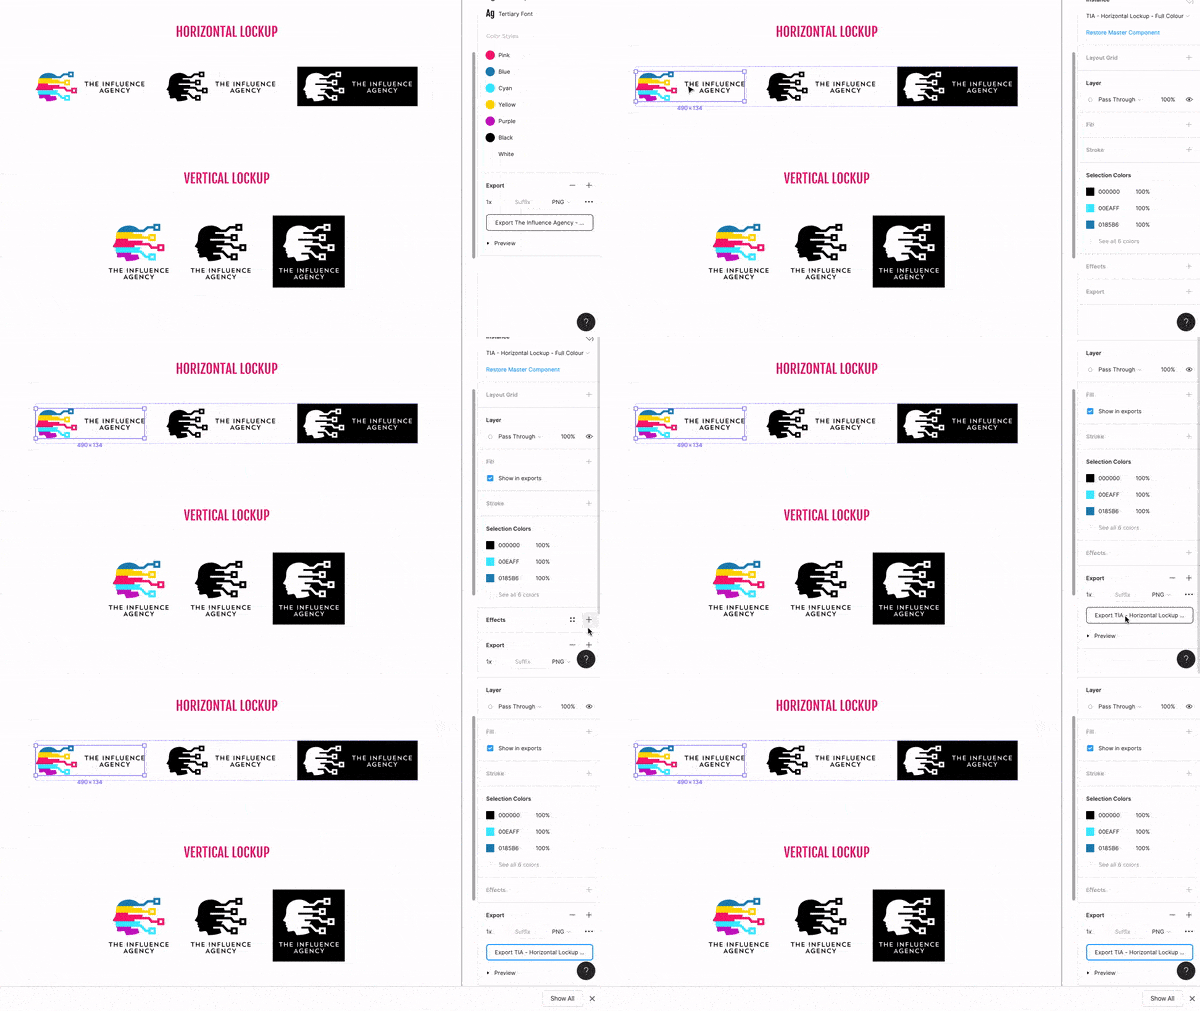
With everything compiled and ready to go. It’s just a matter of sending out your design document to anyone who may benefit from having access to it. Simply hit the share button in the top-right of your Figma window, copy the link, and send it out. There may be some questions regarding how to download logos and whatnot. You can simply point them to the Getting Started with Exports page provided by Figma, or the handy-dandy GIF that I provided above this paragraph. while you prepare yourself a well-deserved cappuccino (or cocktail depending on what time it is).
Help! I’m not a Designer!
Admittedly, this is a late addition to the article. After reading through it once or twice, I’ve completely forgotten to include some notes for those who are not designers. If that’s the case, I’m sorry you read so much of this article that specifically targets designers or developers. You may not know what an SVG is and hey, why should you?
If you’re interested in getting something like this created for your brand or company or whatever initiative you have, please give us a shout through our contact page! I’d love to help put this together for you, I mean, come on, I wrote a blog on it!

